
Introduction to Painting
Introduction to Painting
Introduction to Painting
A Beginner’s Guide
Painting is one of the most effective and accessible ways to transform your home.
Whether you want to refresh a room with a new colour, add personality to your space with an accent wall, or give old furniture a new lease on life, painting is a skill that every DIY enthusiast should master.
This guide will walk you through the basics of painting, explore common scenarios you might encounter, offer practical solutions, and share essential tips and techniques to help you achieve professional-looking results.
Getting Started
Planning Your Painting Project
Before you pick up a brush or roller, proper planning is key to ensuring a successful painting project.
Choosing the Right Paint
• Paint Types:
Understanding the different types of paint is essential.
Water-based paints are the most popular for interior walls due to their ease of use, quick drying time, and easy clean-up.
Oil-based paints, while more durable, take longer to dry and require white spirits for cleanup.
Finish Options: Paint finishes range from flat/matt to high-gloss.
Flat finishes hide imperfections well but are less durable, making them ideal for ceilings.
Satin and eggshell finishes are perfect for walls, offering a balance between durability and sheen.
Gloss and semi-gloss finishes are ideal for trim, doors, and areas that need frequent cleaning.
Colour Selection:
Choose a colour that complements your space.
Test paint swatches on your wall to see how the colour looks in different lighting throughout the day.
Estimating Paint Quantity
Measure Your Space: Calculate the total area you plan to paint.
Most paint cans provide coverage estimates , so you can determine how much paint you need.
Consider Multiple Coats: If you’re making a drastic colour change or using a paint with a lower coverage rate, you may need to apply multiple coats. Purchase enough paint to account for this.
Tools and Materials
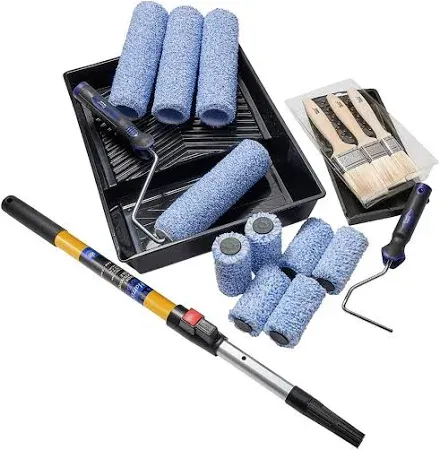
Basic Tools: Essential tools include paintbrushes, rollers, a paint tray, painter’s tape, drop cloths, and a ladder.
Specialty Tools: Depending on your project, you might also need an extension pole for high walls, a paint edger for clean lines, or a paint sprayer for large or textured surfaces.
Prep Materials: Sandpaper, caulk, and a putty knife are useful for prepping walls. Don’t forget a damp cloth or sponge to clean surfaces before painting.
Preparing Your Space
The Key to a Professional Finish
Preparation is the most important step in any painting project. Proper prep work ensures that your paint adheres well and looks smooth and even.
Cleaning and Repairing Surfaces
Clean the Walls: Dirt, dust, and grease can prevent paint from adhering properly. Wipe down walls with a damp cloth and mild detergent to remove any grime.
Repair Imperfections: Use spackle to fill in any holes, cracks, or dents in the walls. Once dry, sand the patched areas smoothly.
Sanding also helps remove old flaking paint and creates a surface that new paint can adhere to better.
Remove Mold or Mildew: If you find mold or mildew on your walls, clean it with a solution of water and bleach before painting to prevent it from returning.
Protecting Your Space
Use Masking Tape: Apply Masking tape along the edges of trim, windows, and other areas you want to protect from paint.
Press down the edges firmly to prevent paint from seeping underneath.
Cover Floors and Furniture: Lay down drop cloths to protect floors and furniture from paint splatters.
Move furniture out of the way or cover it with plastic sheeting.
Painting Techniques: Mastering the Basics
With your space prepared, it’s time to start painting. Using the right techniques will help you achieve a smooth, even finish.
Cutting In
What is Cutting In? Cutting in refers to painting along the edges of walls, ceilings, and trim where a roller can’t reach.
This creates a border that you can then fill in with a roller.
Technique: Use a high-quality angled brush to cut in.
Load the brush with paint, tap off excess, and carefully paint along the edges, keeping a steady hand.
Work in small sections and blend the cut-in areas with the roller immediately to avoid visible brush marks.
Rolling the Walls
Choosing the Right Roller: Select a roller with a nap (thickness) appropriate for your surface.
Smooth surfaces like drywall require a short nap, while textured surfaces like stucco need a long nap.
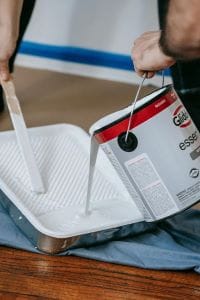
Load the Roller: Dip the roller into the paint tray, then roll it back and forth on the ridged part of the tray to evenly distribute the paint without overloading it.
Rolling Technique: Start rolling in a “W” or “M” pattern to distribute the paint evenly. Then fill in the gaps with vertical strokes.
Overlap slightly with the cut-in areas to blend the edges seamlessly.
Work in Sections: Paint one wall at a time, keeping a wet edge to avoid lap marks. This means you should work quickly enough that each new section of paint is applied while the previous section is still wet.
Overcoming Obstacles
Dealing with Stains and Marks
Stain-Block
If your walls have water stains, smoke damage, or other marks that might bleed through the paint, apply stain-blockbefore painting.
This will prevent the stain from showing through the new paint. Often a gloss paint will suffice
Two Coats for Coverage
For particularly stubborn stains, applying two coats of paint might be necessary to achieve full coverage.
Painting Over Dark Colours
Primer First When painting over a dark colour with a lighter one, use a primer to neutralize the dark colour first.
This will reduce the number of paint coats needed for even coverage.
Avoiding Brush and Roller Marks
Use Quality Tools: Invest in high-quality brushes and rollers, as cheap ones often leave marks
Don’t Overwork the Paint: Apply the paint with a few strokes and then leave it alone.
Over-brushing or over-rolling can create marks and uneven texture.
Proper Drying Time
Allow sufficient drying time between coats, as rushing this process can cause uneven finishes and texture issues.
Conclusion
Painting is a versatile and rewarding DIY project that can dramatically improve your home’s appearance.
By planning carefully, using the right techniques, and paying attention to details, even beginners can achieve professional-looking results.
Whether you’re refreshing a room, creating a feature wall, or embarking on a larger project, this guide has provided you with the knowledge and confidence to get started.
Good Luck!

© [your domain name]